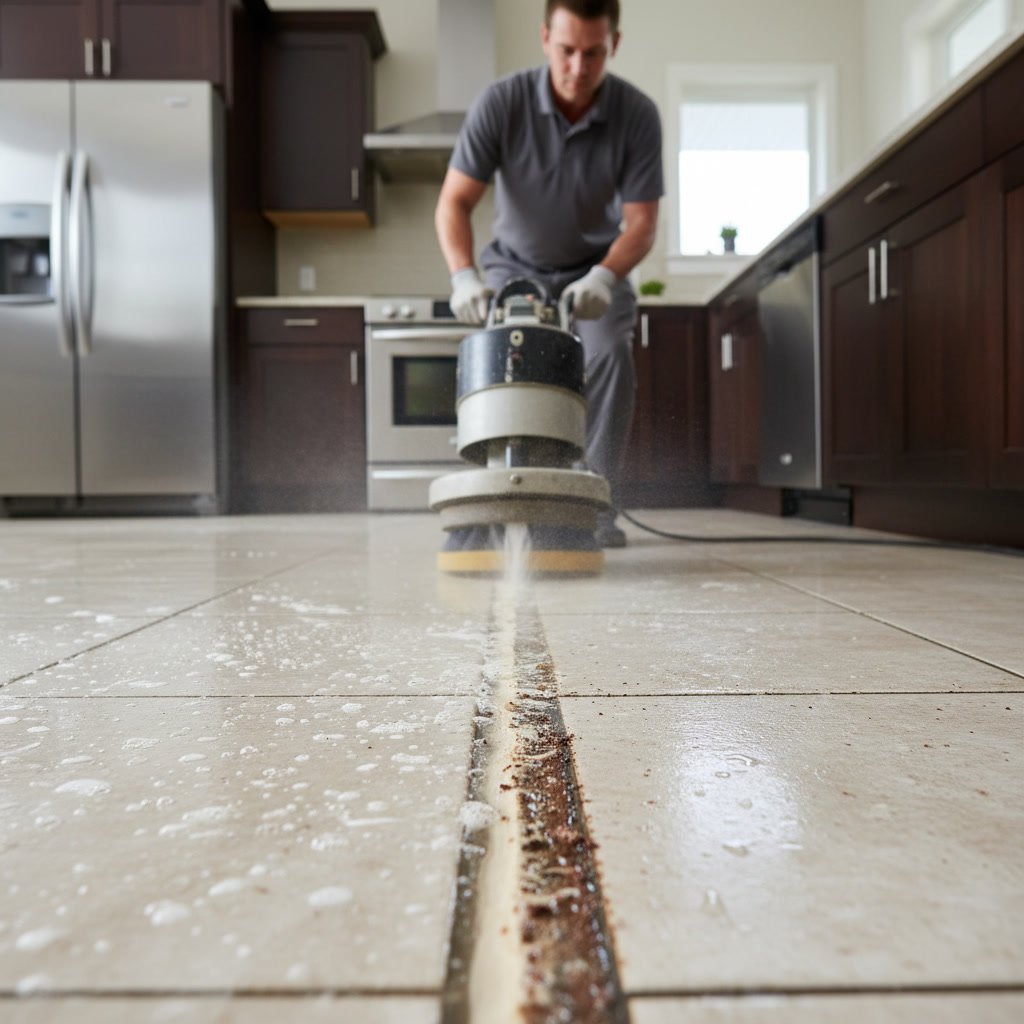
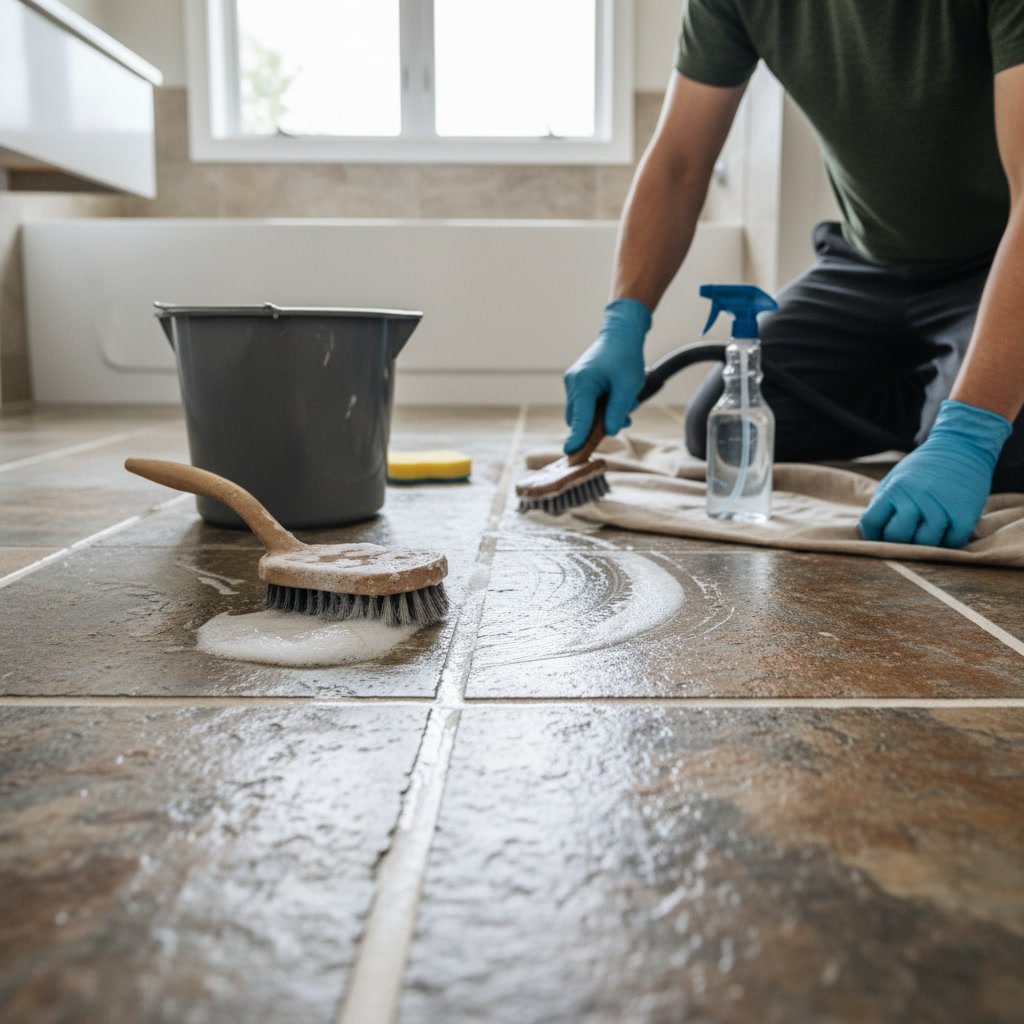
The success of any tile sealing project depends almost entirely on preparation. To prepare tile for sealing correctly, you must deep clean the surface, repair any damage, remove all residue, and allow complete drying time before applying sealer. Rushing or skipping any of these steps will cause premature sealer failure, wasted money, and continued grout deterioration.
Tile sealing creates a protective barrier against stains, moisture, and dirt, but only when the sealer can properly bond to clean, dry grout lines. Even the highest-quality sealer will fail if applied over soap scum, grease, or moisture trapped in the grout.
Why Proper Preparation Matters More Than the Sealer Itself
Most homeowners assume the brand or type of sealer determines protection quality. In reality, surface preparation accounts for roughly 80% of sealing success. Professional-grade sealers applied to poorly prepared surfaces will peel, discolor, or wear away within months.
Clean, dry grout allows sealer molecules to penetrate deeply and bond at the microscopic level. Contaminated grout prevents this penetration, leaving the sealer sitting on the surface where it quickly wears off from foot traffic and cleaning.
Understanding the Science Behind Grout Sealer Adhesion
Grout is porous, with thousands of tiny channels that absorb liquids. Sealers work by filling these channels with water-repellent compounds that block staining agents. When dirt, oils, or cleaning residue already fill these channels, the sealer has nowhere to go.
Temperature and humidity also affect sealer curing. Grout must reach a moisture content below 5% for most penetrating sealers to cure properly. Professional moisture meters can verify this, though most homeowners rely on a 72-hour drying period after deep cleaning.
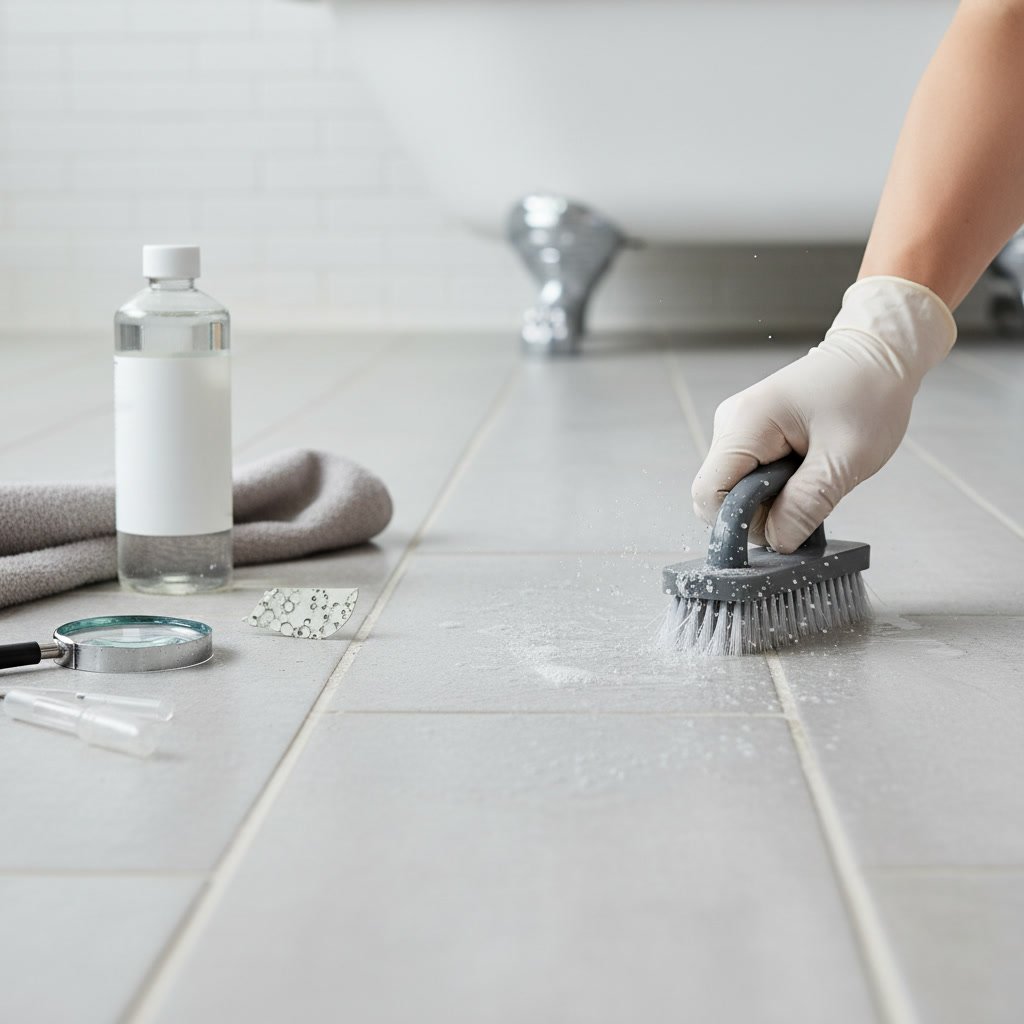
Step One: Deep Clean Your Tile and Grout Surfaces in Tracy
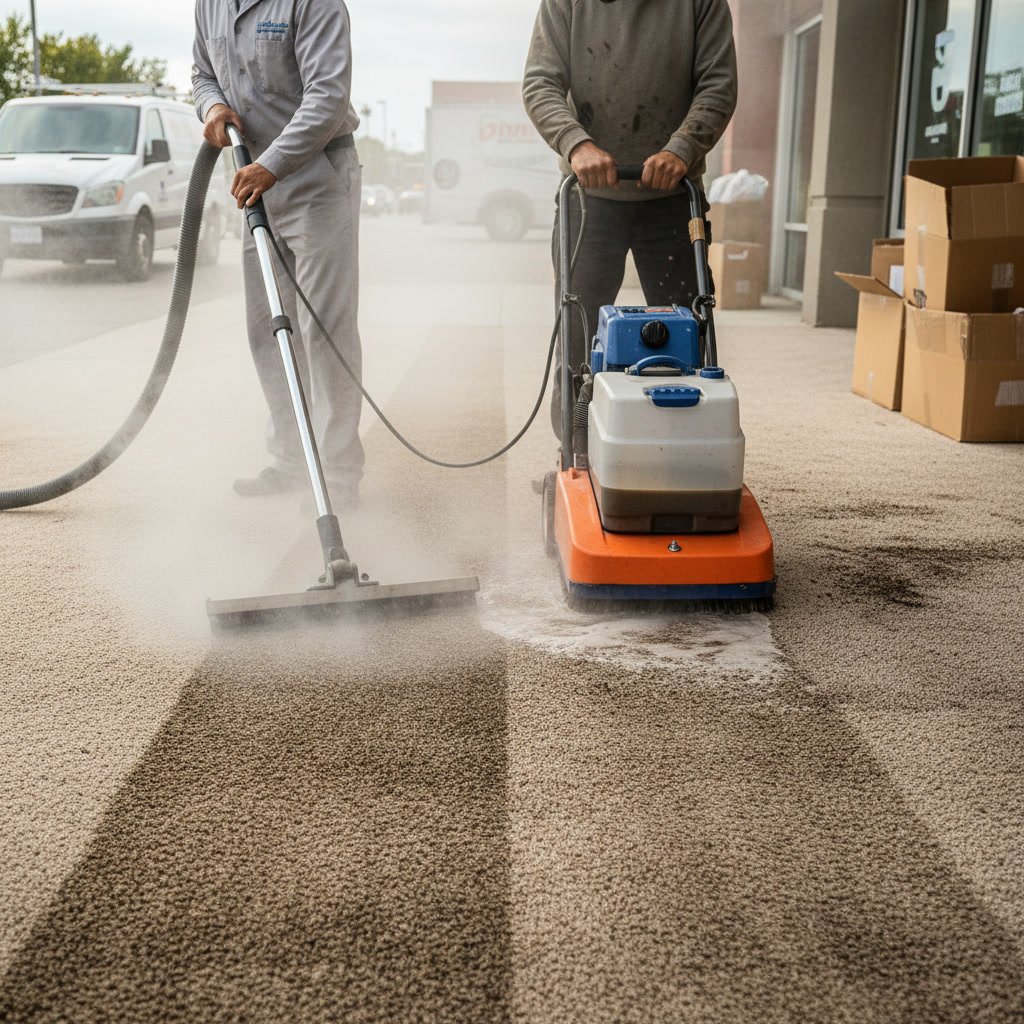
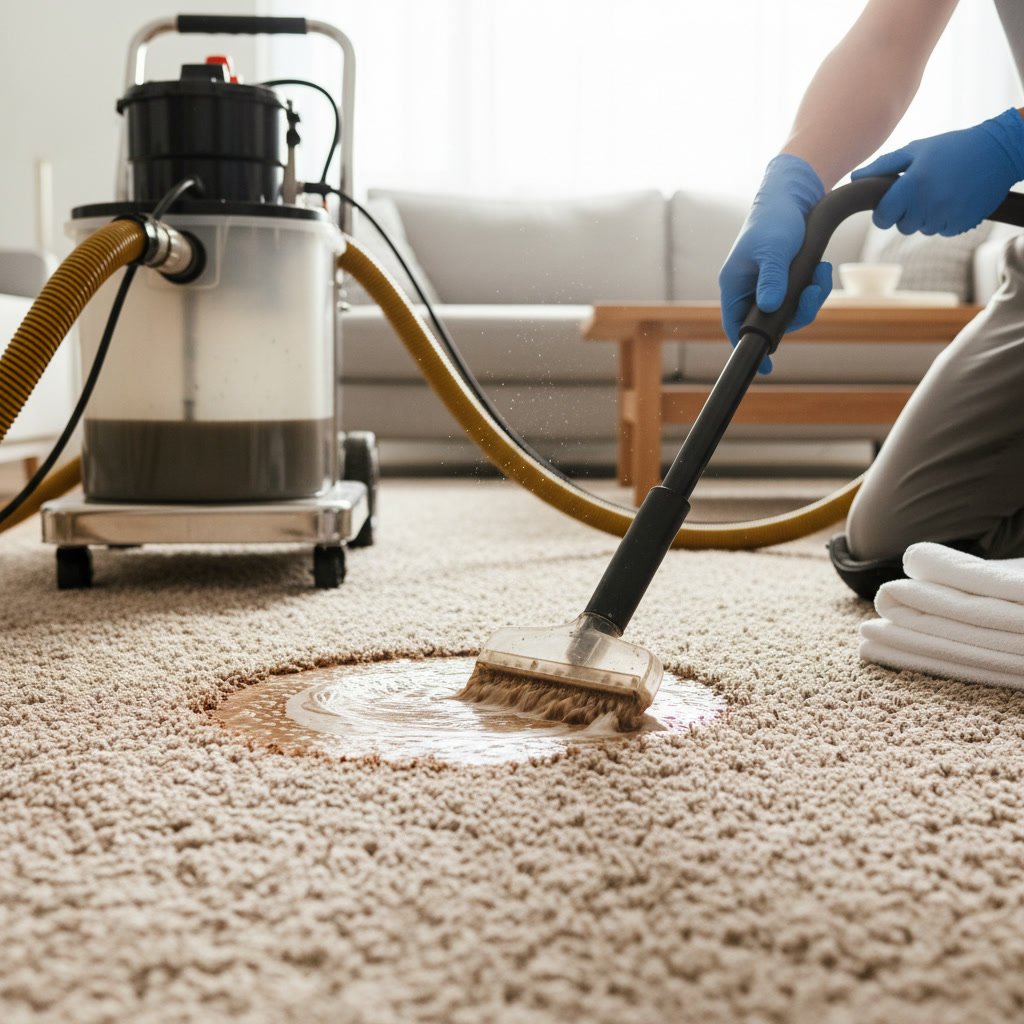
Standard mopping will not remove the embedded dirt and oils that prevent sealer adhesion. You need a deep cleaning process that reaches into grout pores. Professional tile and grout cleaning uses high-pressure steam or specialized alkaline cleaners to dissolve years of buildup.
For DIY preparation, use a pH-neutral tile cleaner and stiff grout brush to scrub every grout line. Avoid vinegar or acidic cleaners, which can damage grout integrity and interfere with sealer chemistry. Work in small sections, scrubbing until the rinse water runs clear.
Pay special attention to high-traffic areas, kitchen floors near cooking zones, and bathroom tiles exposed to soap and body oils. These areas accumulate the thickest contamination layers.
Removing Existing Sealer and Wax Buildup
Old sealer must be stripped before applying new protection. Layering new sealer over failing old sealer traps moisture and accelerates grout damage. Commercial sealer strippers use solvents to dissolve previous coatings, though this process requires proper ventilation and safety equipment.
Test a small area first. If water beads on your grout, old sealer remains. If water soaks in immediately, the grout is ready for new sealer after cleaning and drying. Many floor waxes and all-in-one cleaners leave residues that act like invisible barriers, so a final rinse with clean water is essential.
Repairing Damaged Grout Before Sealing
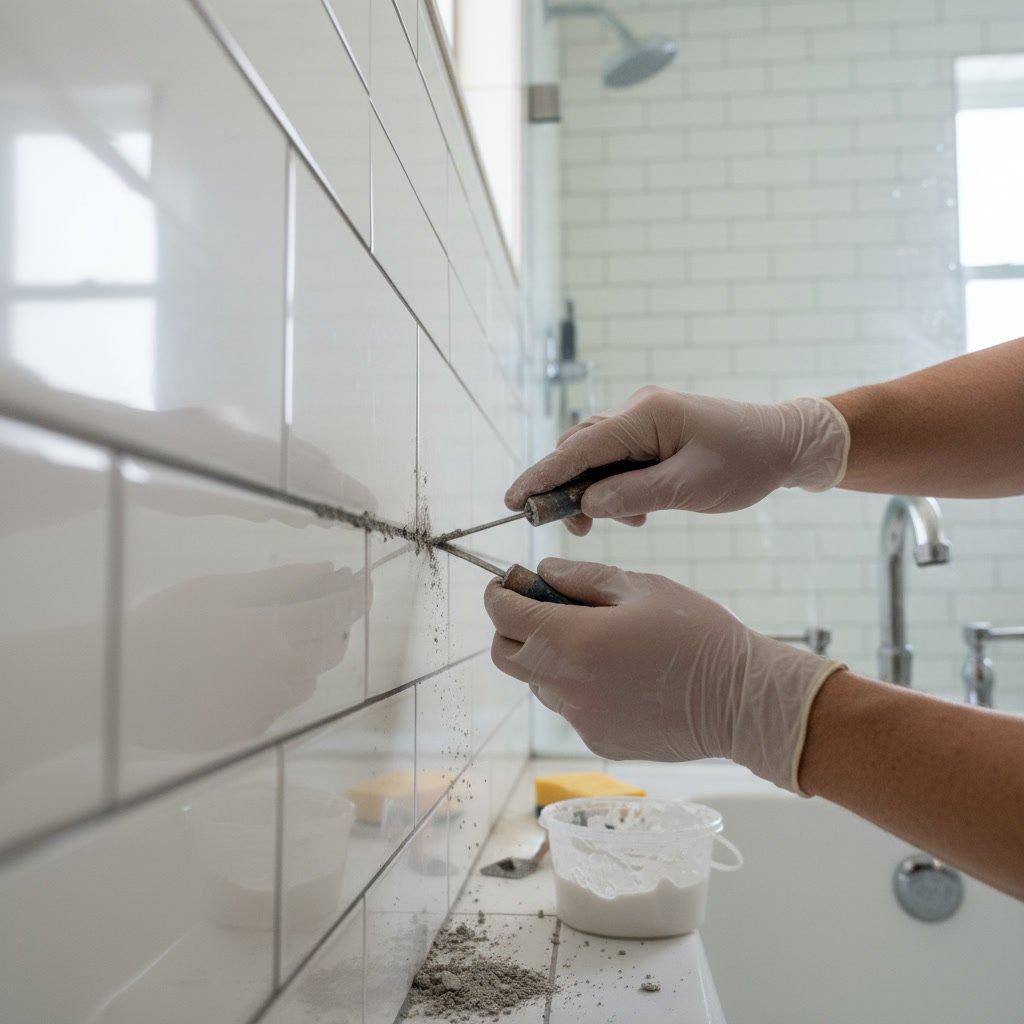
Sealer cannot fix structural grout problems. Cracks, crumbling sections, and missing grout must be repaired first. Remove damaged grout to a depth of at least one-eighth inch using a grout saw or oscillating tool. Vacuum out all dust and debris.
Apply new grout that matches your existing color, following manufacturer instructions for mixing and application. Allow fresh grout to cure for the full recommended time, typically 72 hours minimum, before cleaning and sealing. Sealing too soon traps moisture inside new grout, causing discoloration and weakness.
The Critical Drying Period Most People Skip
This step determines whether your sealing project succeeds or fails. Grout must be completely dry, not just surface-dry. Moisture trapped beneath the surface will prevent sealer penetration and can cause a cloudy or blotchy appearance.
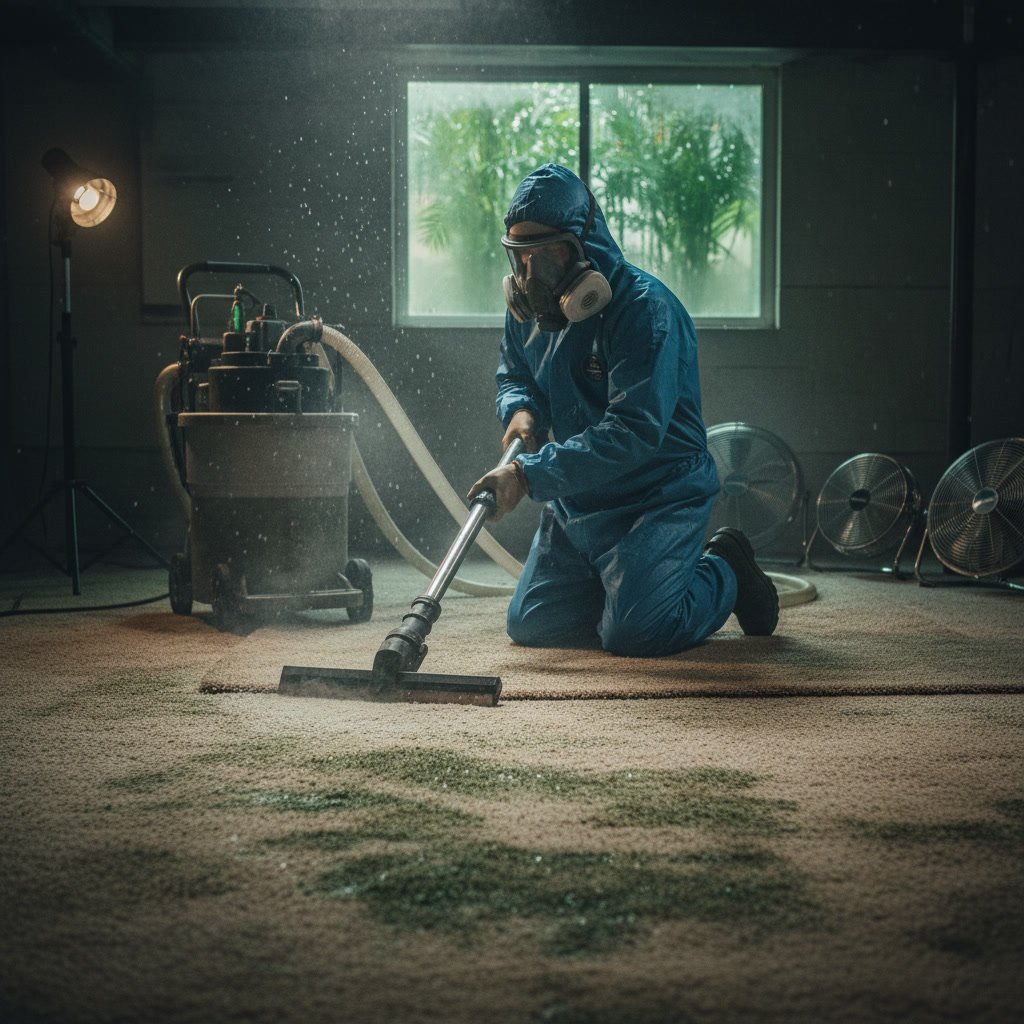
After deep cleaning, allow at least 72 hours of drying time in normal conditions. Extend this to five or seven days in humid climates, poorly ventilated spaces, or during winter months when indoor humidity runs high. Run dehumidifiers and fans to accelerate drying if needed.
Test dryness by taping a small plastic square over the grout. If moisture appears under the plastic after 24 hours, the grout needs more drying time. This simple test prevents the most common sealing failure.
Choosing Between Penetrating and Topical Sealers
Penetrating sealers soak into grout and tile, creating an invisible protective barrier that allows vapor transmission. These work best for natural stone, unglazed ceramic, and porcelain tile. They require the most thorough preparation because they can only penetrate clean, open pores.
Topical sealers sit on the surface, creating a physical coating that can enhance color and add shine. While more forgiving of minor preparation flaws, they require more frequent reapplication and can wear unevenly in high-traffic areas. The preparation process remains similar for both types, though topical sealers demand perfectly smooth, clean surfaces to avoid visible streaking.
Neutralizing pH Levels for Optimal Sealer Performance
After using alkaline cleaners, you must neutralize grout pH to between 7 and 8. Highly alkaline grout (pH above 10) can interfere with sealer chemistry, preventing proper curing. Use a pH-neutral rinse or a mild acidic solution diluted according to manufacturer instructions.
Test pH with inexpensive strips available at pool supply or hardware stores. Rinse thoroughly after neutralizing to remove any residual chemicals. This step is especially important when preparing grout that was cleaned with heavy-duty degreasers or professional-strength alkaline solutions.
Final Surface Inspection and Touch-Up Cleaning
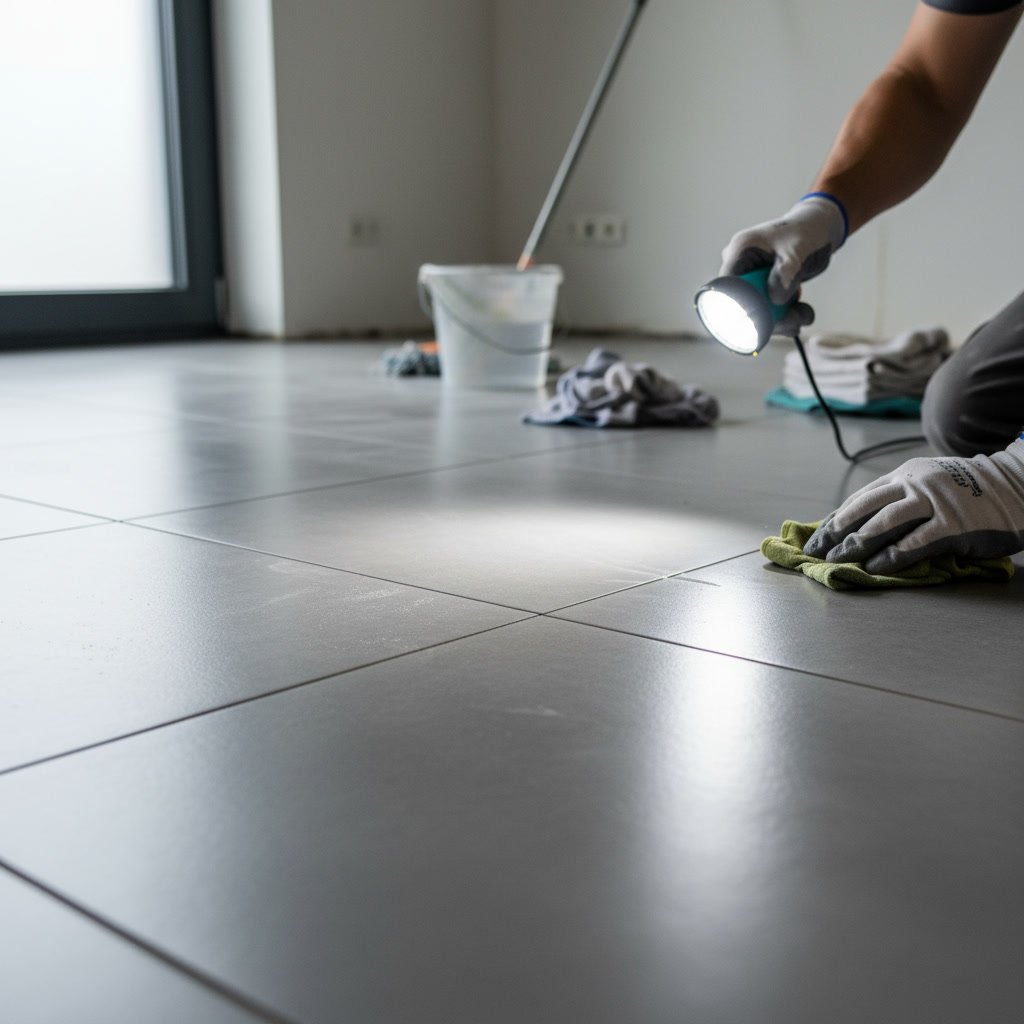
Once your tile and grout are clean, repaired, and dry, perform a final inspection under bright light. Look for any remaining stains, soap residue, or hazy areas. A white cloth rubbed over the grout should come away completely clean.
Remove any dust or debris with a vacuum, not a broom, which can leave fine particles behind. Wipe tile surfaces with a barely damp microfiber cloth to remove any final dust. The surface should be pristine, with no visible contaminants or moisture.
Similar attention to detail during preparation ensures your investment in professional cleaning services, like those used to maintain allergen-free furniture, delivers lasting results.
Application Environment and Timing Considerations
Apply sealer when temperatures range between 50 and 80 degrees Fahrenheit. Extreme temperatures affect curing time and sealer penetration. Avoid sealing during rainy or highly humid periods, which extend drying times and can introduce moisture after application.
Plan your sealing project when you can keep the area completely dry for 24 to 48 hours after application. No foot traffic, no spills, no cleaning. This curing period allows the sealer to fully bond and harden. Many professionals recommend sealing on a Friday to give weekend curing time before normal use resumes.
Protecting Your Investment With Professional-Grade Preparation
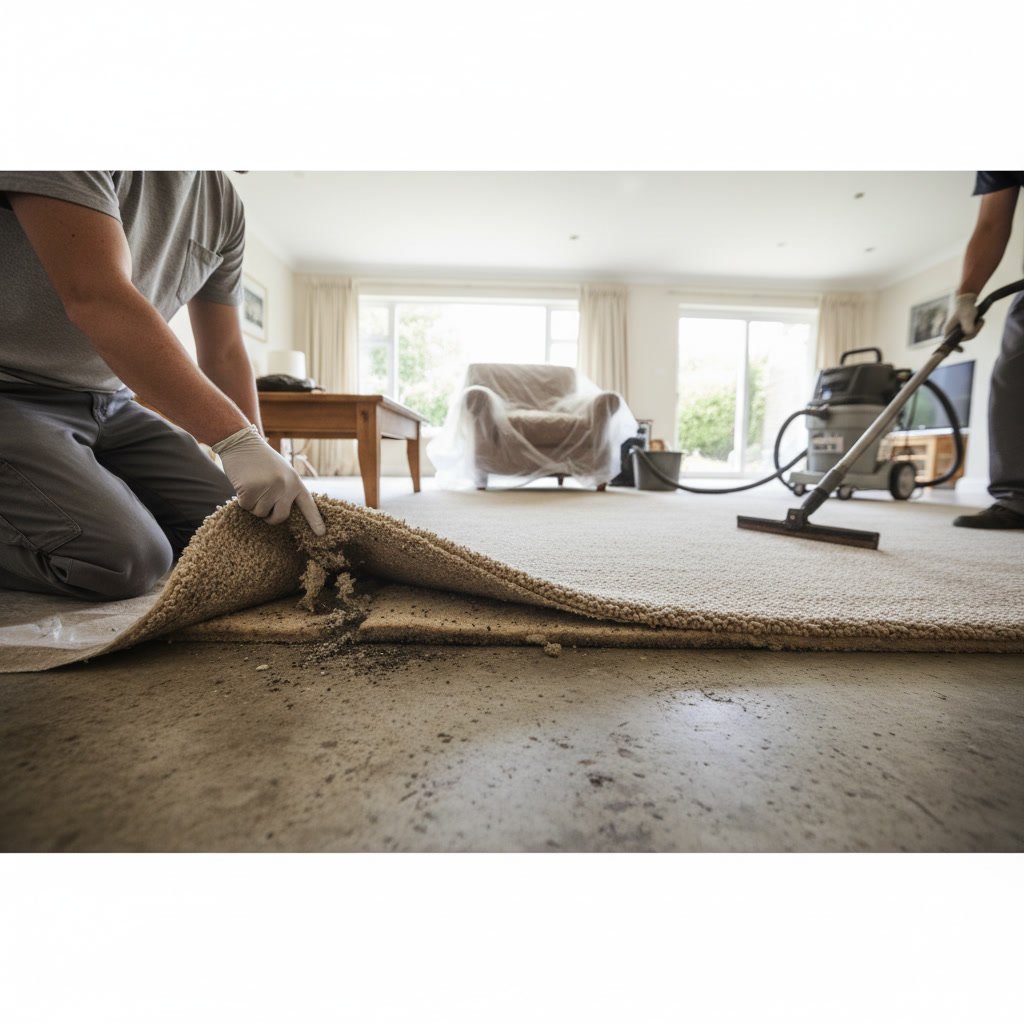
The difference between a sealing job that lasts two years and one that lasts seven or more comes down to preparation quality. While DIY preparation is possible, professional services bring specialized equipment, commercial-grade cleaners, and the experience to identify hidden problems before they compromise your sealing investment.
Grasso Carpet Cleaning has served families in the Manteca area for over 50 years, bringing professional-grade preparation and sealing services to homes throughout Modesto, Stockton, and surrounding communities. Our approach ensures your tile receives the thorough preparation needed for maximum sealer performance and longevity.
Proper preparation transforms sealing from a temporary fix into long-term protection. Clean grout, complete drying, careful repairs, and attention to environmental factors create the foundation for sealers to perform as designed. When you invest time in thorough preparation, you extend the life of your tile, protect your grout from staining and damage, and reduce long-term maintenance costs.
If you need professional tile and grout preparation and sealing services, Grasso Carpet Cleaning provides complete solutions backed by decades of experience and a 100% satisfaction guarantee. Call +12092392906 or visit our contact page to schedule your consultation and protect your investment with proper professional preparation.